Oct 19, 2026 · 5 min read
Sustainability Strategy
In This Article
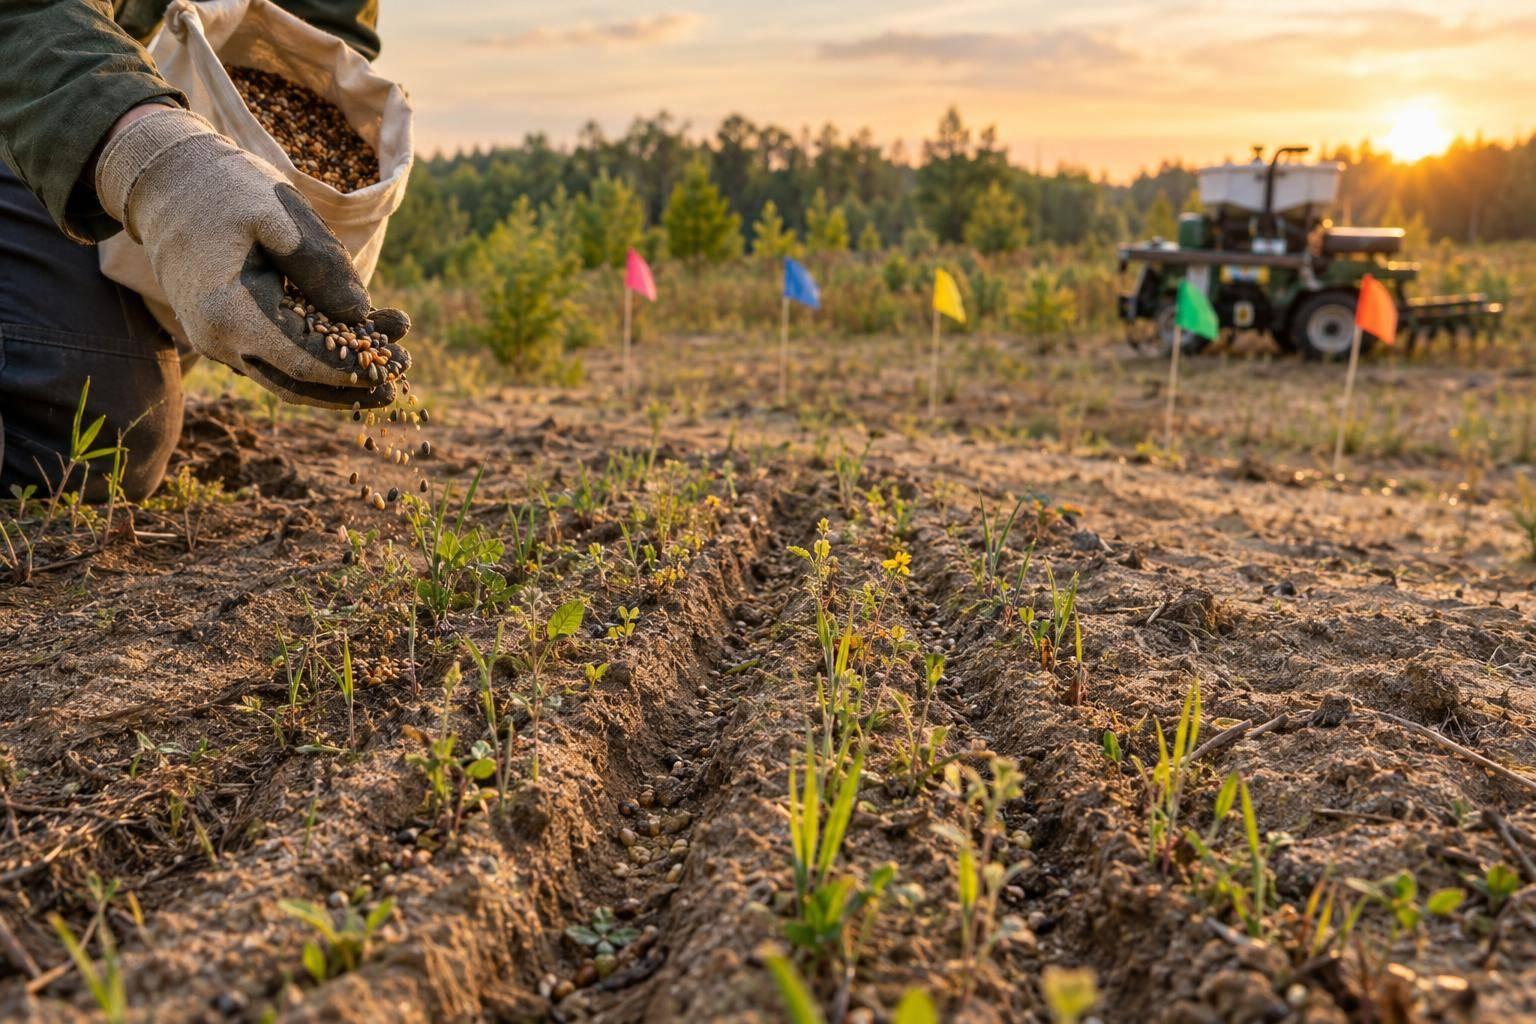
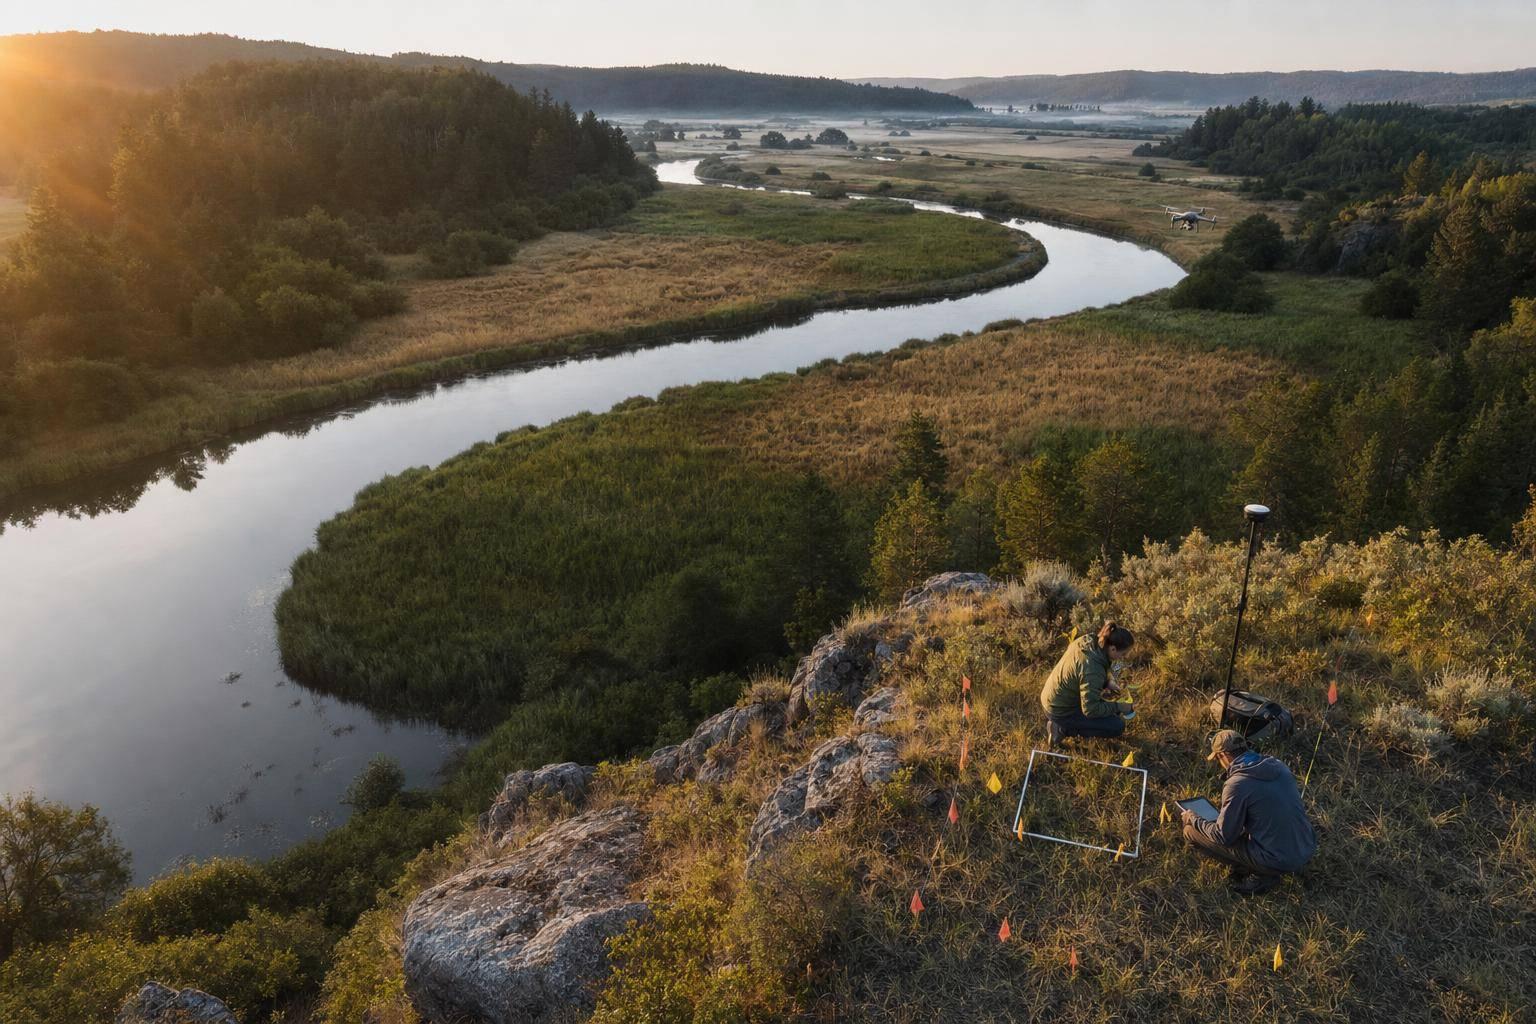
Workflow for direct seeding native vegetation: site assessment, seed‑mix selection, timed sowing, and ongoing monitoring.
Direct Seeding for Native Vegetation Recovery
I start with the site, not the seed. Direct seeding works best when weeds, drainage, and soil moisture are addressed before sowing - not left for seedlings to overcome.
My plan follows three steps:
Choose the seed: Match native species to the site, check seed quality, and calculate pure live seed rates.
Prepare and sow: Control weeds, protect existing native plants, and calibrate equipment for a reliable rainfall window.
Check and adjust: Track seedlings, weeds, and erosion through the first growing season and beyond; fix the cause of bare patches before reseeding.
Before work begins, I set recovery targets, assign follow-up care, and budget per acre for both sowing and maintenance. <u>Seed in the ground is the starting point</u> - established native vegetation is the goal.
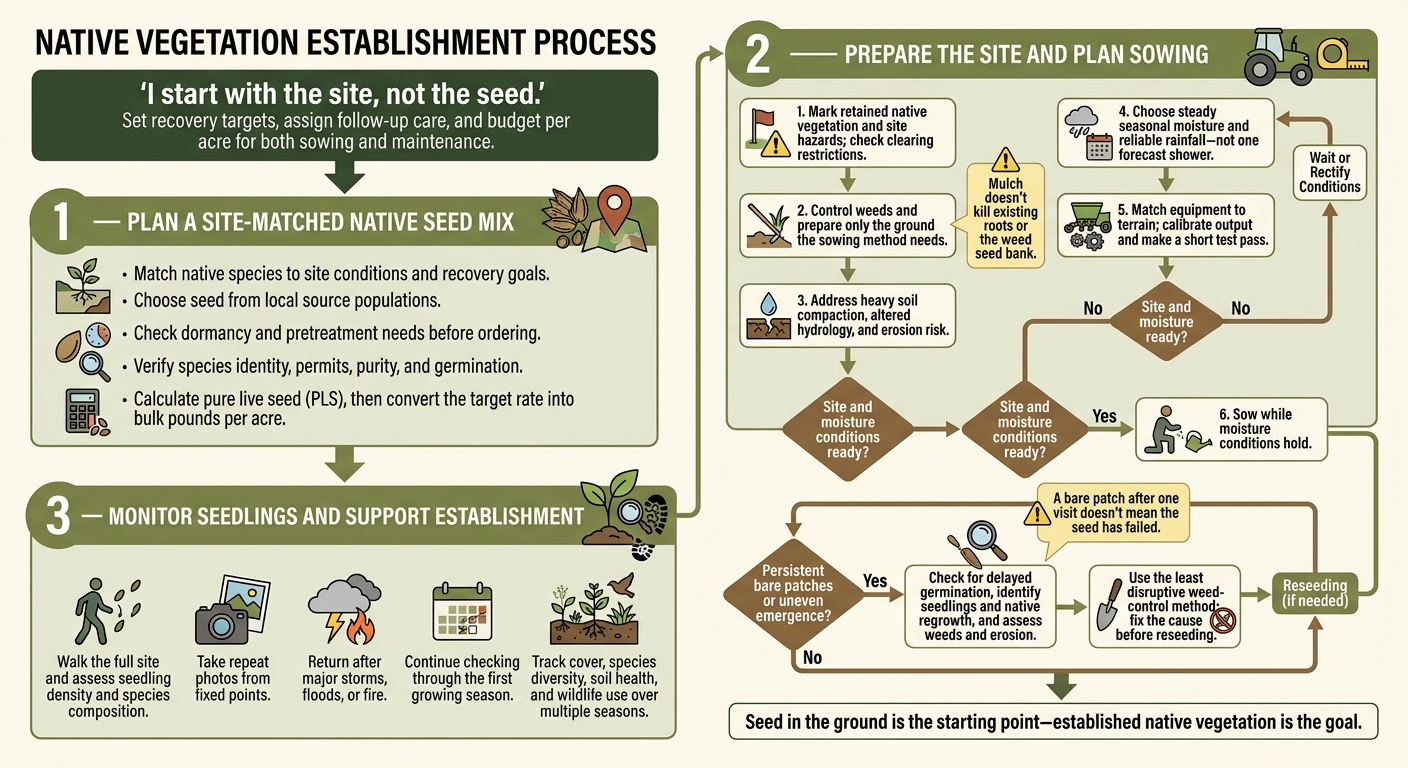
Native Vegetation Recovery: Direct Seeding Workflow
Step 1: Plan a Site-Matched Native Seed Mix
Choose Species for Site Conditions and Recovery Goals
Build the mix around the reference plant community, current site conditions, and recovery targets set earlier. Choose seed from local source populations and favor long-lived species that support the plant community’s functions. Check dormancy and pretreatment needs before ordering. [1][4][5]
Many native species need smoke water, soaking, or scarification to improve germination. Genetic diversity in the mix also supports long-term resilience. [4][5]
Check Seed Quality and Calculate Pure Live Seed Rates
Before buying, verify species identity and confirm that collection follows permit requirements. Calculate pure live seed (PLS) from seed purity and germination, then convert the target rate into bulk pounds per acre. [4][5]
Use viability testing to check seed condition and proper storage to help keep it viable. Retest stored seed before use if its viability is unclear. [4][5]
Once the mix is confirmed and the seed is tested, move to weed control, seedbed preparation, and sowing timing.
sbb-itb-8baf5f1
Step 2: Prepare the Site and Plan Sowing
Control Weeds and Prepare the Seedbed
With the seed mix chosen, prepare only the ground your sowing method needs. Before machinery enters, mark shade trees, windbreaks, and patches of remaining native vegetation. Walk the site to check for stumps, old fence lines, rabbit warrens, debris, and other hazards. Check local government maps or ordinances before clearing - natural regrowth may still be protected.
Match the clearing method to the growth: slash light grass, use a brush cutter in tight corners and around infrastructure, and use forestry mulching for dense woody regrowth. Avoid stripping the ground to bare soil unless needed, since this increases erosion and gives weeds room to grow.
Mulch shades the ground and holds moisture, helping limit weed regrowth. But it doesn't kill existing roots or the weed seed bank. If you use newly chipped wood mulch, check whether nitrogen tie-up could affect seedlings and whether the site needs harrowing or other agronomic advice before sowing. [3][6]
Time Sowing for Seasonal Moisture and Rainfall
Plan sowing around steady seasonal moisture and reliable rainfall, rather than a fixed date or one forecast shower. Account for any seed dormancy requirements, too.
Address heavy soil compaction or altered site hydrology before sowing, and wait until the cause of site damage is under control. Delay sowing when erosion risk is high or a storm could wash seed away before it settles. [1][6]
Once you've chosen the rainfall window, match the equipment and its calibration to the site.
Choose Equipment and Calibrate Seed Delivery
Choose equipment suited to the terrain, then calibrate seed output to the target sowing rate. Make a short test pass to check spread width and delivery rate. [6] Once calibration is complete, move straight into sowing while moisture conditions hold.
Step 3: Monitor Seedlings and Support Establishment
Check Seed Placement, Emergence, and Storm Damage
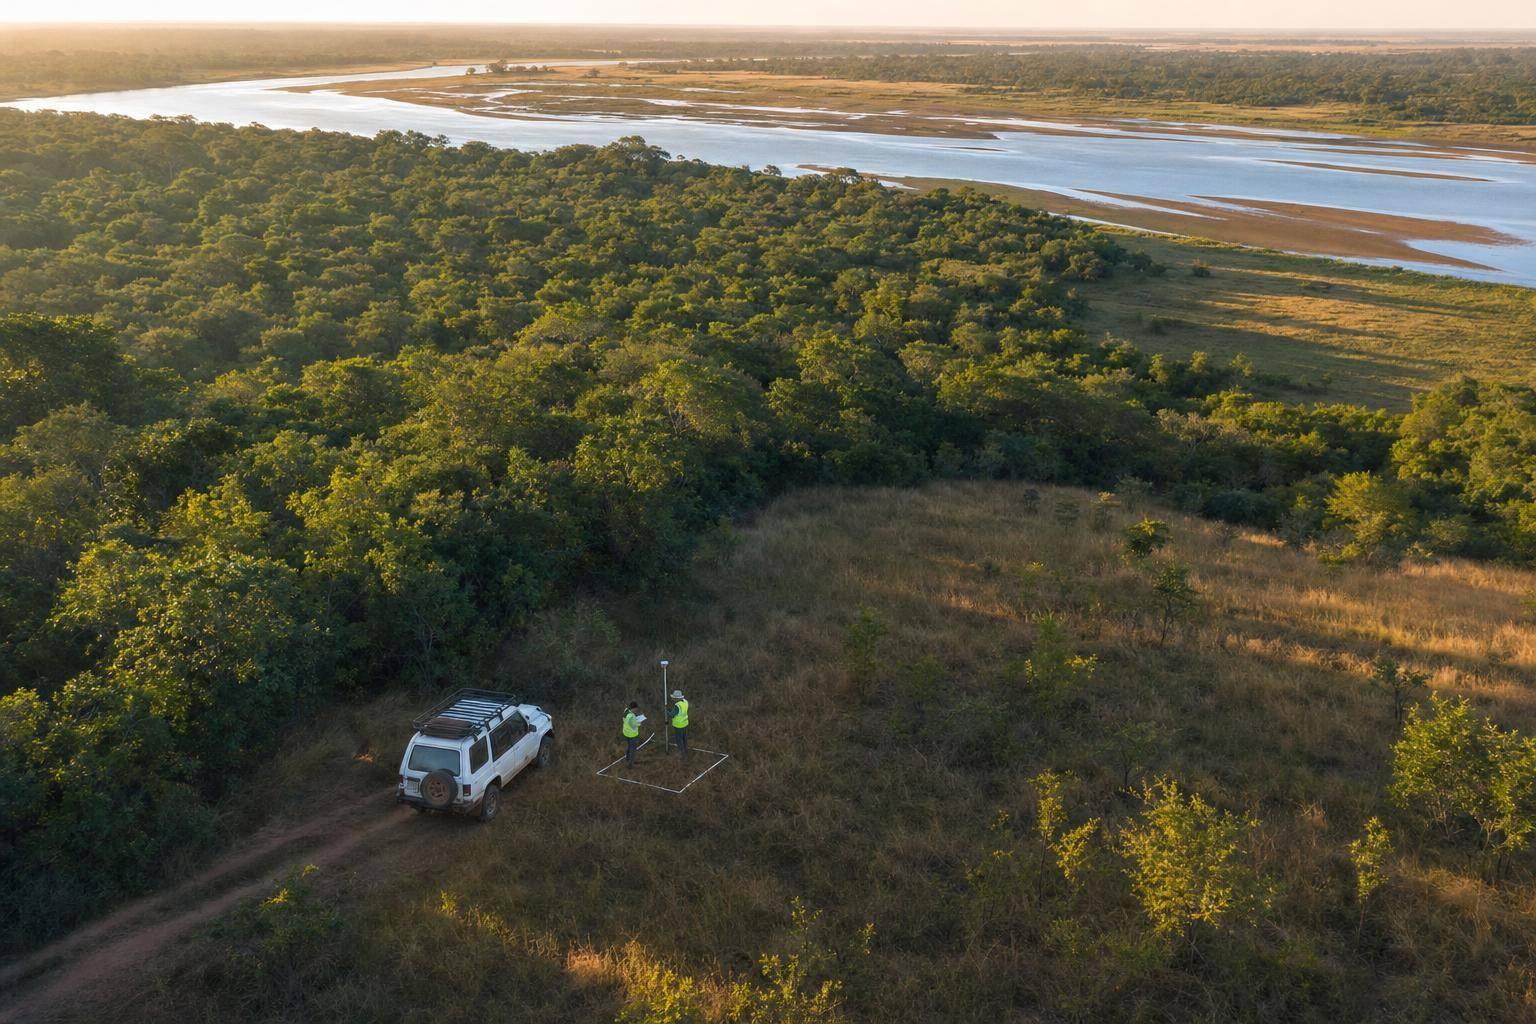
Once seed is in the ground, shift your attention to helping seedlings establish. Seeding is only the start. Use your seed mix and sowing plan to check what should emerge. Walk the full site - not just the easy-to-reach edges - and assess seedling density and species composition. Return after major storms, floods, or fire, and continue checking through the first growing season. [6]
Take repeat photos from fixed points in the most challenging areas so you can compare changes between visits. Record sparse grass, scattered weeds, dense woody regrowth, erosion, rabbit warrens, old fence lines, and debris that could affect establishment or maintenance. [6]
A bare patch after one visit doesn't mean the seed has failed. Dormant seed may emerge slowly and unevenly. Check for erosion and weed pressure before reseeding. [4][5][6]
Manage Weeds and Adjust Seedling Care
Where emergence is uneven, check for seedlings and compare them with the species in your seed mix before treating the patch. Confirm whether regrowth is native before removing it. Once you've identified the plants, choose the least disruptive weed-control method to protect seedlings. [6]
If a patch continues to fail, check weed pressure and erosion, then address the cause before reseeding. Track cover, species diversity, soil health, and wildlife use over multiple seasons to guide follow-up care and reseeding. [1][6]
The fundamentals of direct seeding for native revegetation projects
Conclusion: Review Your Seeding and Care Plan
Before sowing, review each mapped site zone. Check boundaries, retained vegetation, hazards, seed identity, permits, weed-control needs, soil preparation, and the rainfall window. Confirm that each zone is ready for sowing and early monitoring. [3][4]
Assign a lead for follow-up care, identify who approves corrective work, and budget for maintenance and monitoring. Keep monitoring records and set a multiyear review schedule; some restoration programs monitor for 10–30 years. [7][1] Start with early establishment checks, then use the findings to guide follow-up care.
FAQs
How do I calculate pure live seed per acre?
Calculating pure live seed (PLS) per acre typically requires the purity and germination percentages for your specific seed lot. The provided search results don’t explain how to calculate it. For accurate seeding rates, refer to professional agronomic guidelines or contact your local extension service.
How deep should I sow native seeds?
For direct seeding of native vegetation, sow seeds shallowly - generally 0.4 to 0.8 inches deep - to support germination [1]. Set them in small depressions where a thin layer of silt can cover them, or lightly rake them into the soil [2][1].
Take care with small seeds: burying them 2 to 4 inches deep can leave many native seeds unable to germinate [2].
How long should I wait before reseeding bare patches?
There’s no fixed waiting period. When to reseed depends on site conditions, native species, and how well you can control weeds. Watch the site during the first spring to see what grows back naturally before deciding whether - and where - to reseed [1].
If you reseed, plan for likely rainfall and enough soil moisture. Native seedlings typically need at least 2 to 3 days of moist soil to germinate and establish their primary roots [2].
FAQ